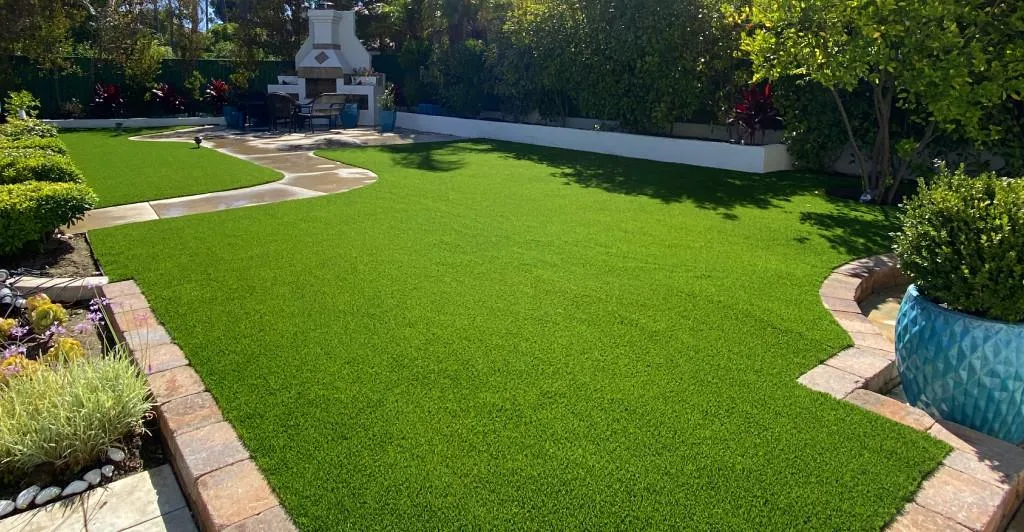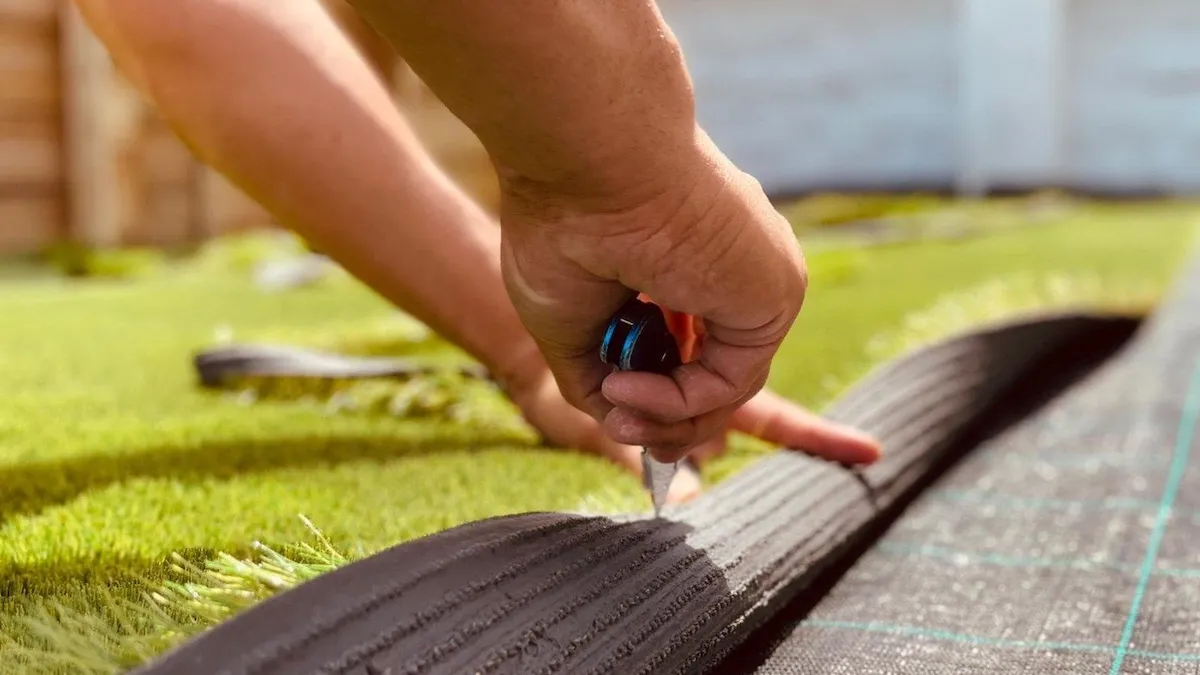
Whether you're shaping a backyard lawn around a flower bed, fitting turf along a fence line, or prepping panels for seams, clean cutting is essential to a professional-looking installation. The key is not simply choosing a sharp knife. The turf's backing, stitch rows, pile direction, and edge construction all affect how and where you should cut.
Essential Tools for Cutting Artificial Turf
Choosing the right tools is the first step toward a clean, professional-looking installation. While artificial turf is built to withstand heavy use, it cuts efficiently with the correct instruments. When assembling your set of artificial turf tools, prioritize sharp blades and accurate measuring gear to avoid ragged edges that compromise the final look.
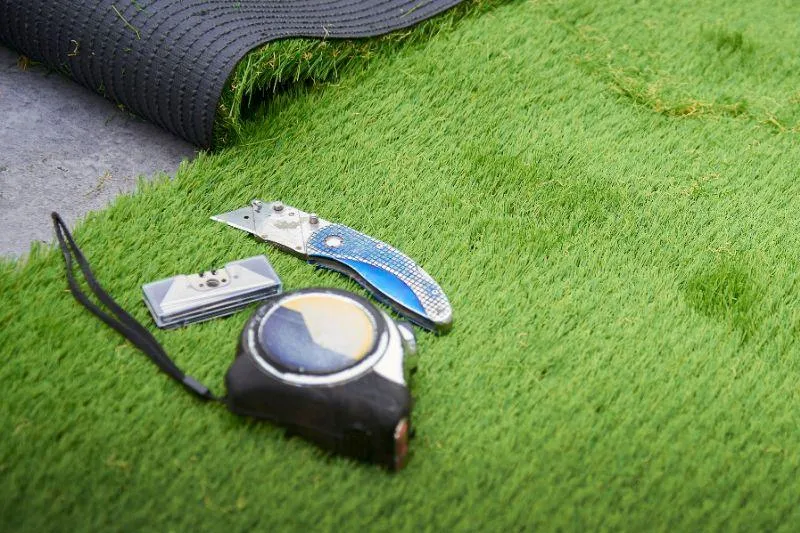
Hook Knife or Utility Knife
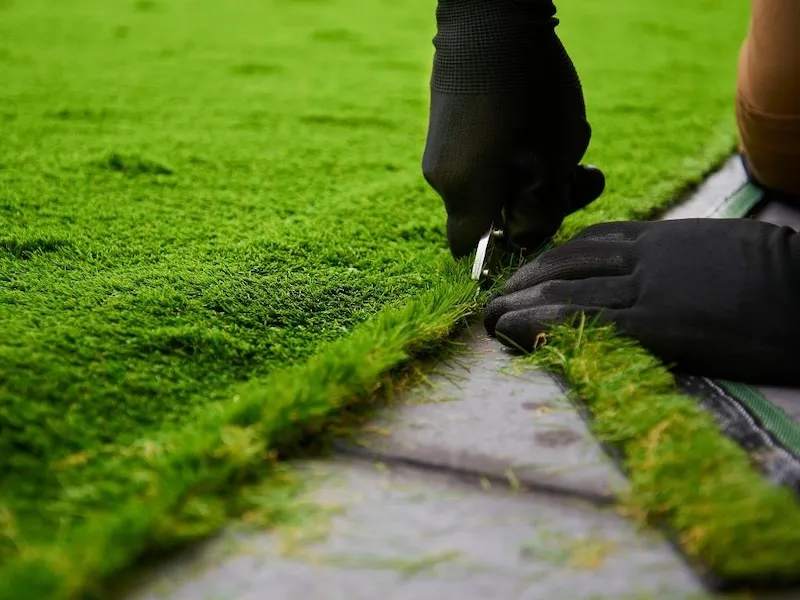
A sharp hook knife or a standard utility knife is usually the primary tool for the job. These blades slice through the dense backing without snagging the fibers. You have some flexibility here—a utility blade, box cutter, or carpet knife all work for straight runs, while a hook knife gives more control on curves. Many installers also keep heavy-duty scissors, shears, or snips on hand for smaller detail cuts and final trimming.
A turf cutter is useful for large installations where long, repetitive cuts need to be made quickly and consistently. It can provide better control than a standard utility knife when working with large turf rolls or thicker backing.
Straightedge and Measuring Tape
Precision keeps waste to a minimum. A yardstick or long metal straightedge guides your knife along a straight line, while a measuring tape and a silver marker or chalk let you mark cut lines accurately before you begin. This combination helps the turf fit snugly against fences, curbs, and other obstacles without guesswork.
Safety Gear: Gloves and Knee Pads
Cutting turf means working with very sharp blades while kneeling for extended periods. A pair of tough, cut-resistant gloves is the single most important safety item—but even with gloves, stay deliberate to avoid hand injuries. Knee pads make the task far more comfortable and help you focus on each accurate cut.
Step-by-Step Guide to Cutting Artificial Grass by Hand
Let the Turf Relax and Acclimate
Artificial turf is commonly transported and stored in tightly rolled sections, which can leave temporary curls, wrinkles, or tension in the backing. After unrolling the turf, allow it to settle flat before making precise final cuts.
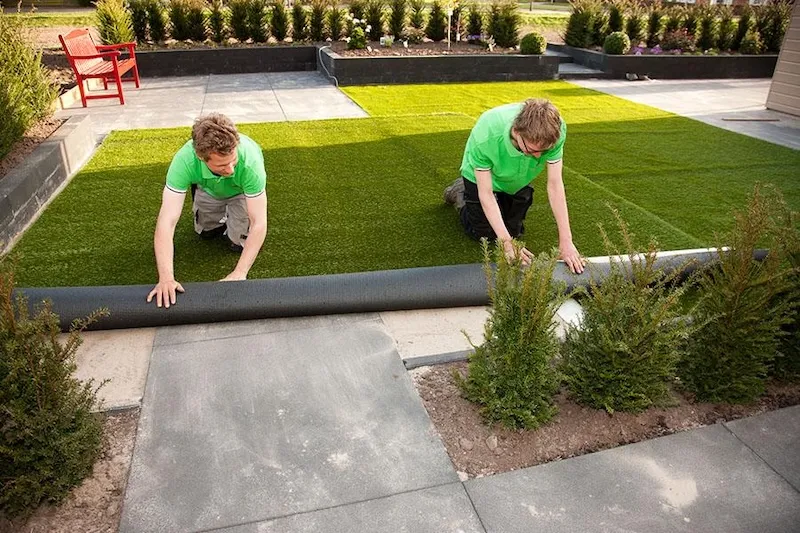
The relaxation period helps the turf recover from its rolled shape and can make final trimming more accurate. It also gives you a better opportunity to confirm the pile direction and identify wrinkles or edge distortion before cutting.
Measure and Mark Cut Lines Accurately
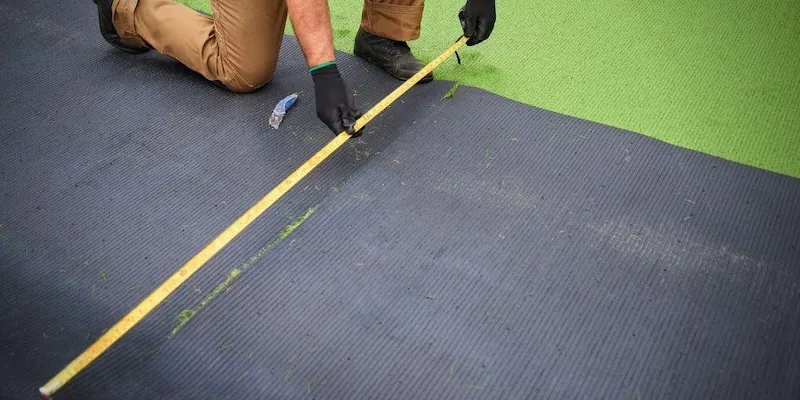
Before making any cut, build a precise plan. Unroll the artificial turf on a flat, clean surface and mark your cut lines using a straightedge and chalk or a permanent marker. When measuring panel length, measure from the end of the backing rather than the fibers, which can extend slightly past the edge. Double-check every measurement: you can always trim more off, but you cannot add material back.
Make a Rough Cut
For large pieces, do not try to make the final perimeter cut immediately. Start with a rough cut that leaves a small amount of extra material beyond the intended edge.
Position the turf in its final location and check the fit around walls, fences, posts, trees, and other obstacles. Once the piece is correctly positioned, make the final trim along the actual boundary.
This two-stage approach gives you room to correct small measurement errors and reduces the risk of cutting a piece too short.
Cut Parallel to Tuft Rows from the Backing Side
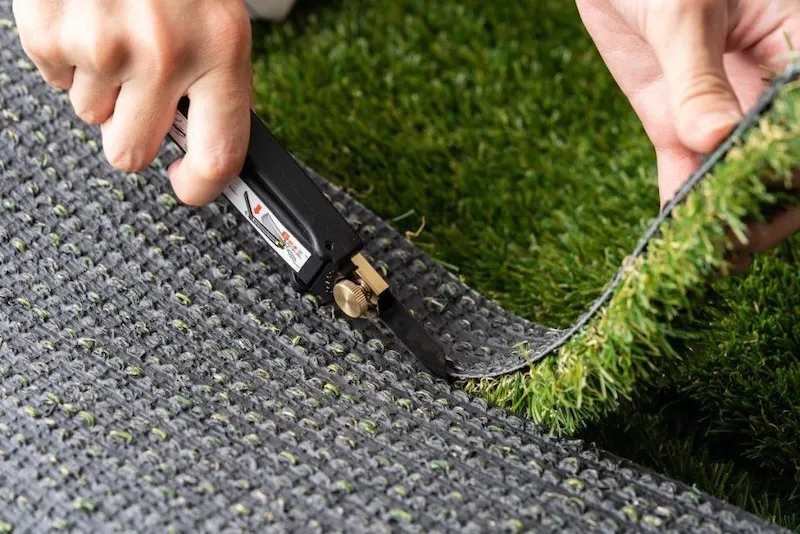
Flip the turf so the backing faces upward. Hold your metal straightedge firmly along the chalk line and make multiple shallow passes with your blade rather than forcing a single deep cut.
When preparing panels for seaming, cut parallel to the backing's tuft rows (stitch lines). Cutting inside the stitch row causes fibers to shed, while leaving too much excess backing creates a visible, bulky gap along the seam.
A Practical Way to Protect the Pile
To prevent accidentally cutting off front grass fibers:
Turn the turf backing up and locate the blank channel between two parallel tuft rows.
Pierce a small starter opening in the channel.
Gently lift or separate the section being cut so the blade can move through the backing without pulling through the visible fibers.
Check Fit and Trim Excess
After cutting, lay the piece in its intended position and check the fit. For a seamless result, trim around edges, curves, and obstacles such as trees or posts. Following the backing's stitch lines helps keep your edges straight. Work gradually, removing small amounts at a time and testing the fit after each adjustment. This measure-cut-trim sequence produces clean results that blend naturally with the surrounding surface. For the full installation context, see our artificial grass installation guide.
How to Prepare Artificial Turf Edges for Seams
Before joining two turf panels together, preparing clean, precise seam edges is critical for a seamless finish. Inspect both pieces from the backing side and follow these two preparation rules:
Check the Tuft Rows Before Cutting
Turn both panels over and locate the parallel tuft rows (stitch lines). Always cut parallel to these rows rather than slicing directly through the tufted stitch structure. Ensure the two sections meet smoothly without overlapping backing or creating a wide gap.
Trim Excess Selvedge When Necessary
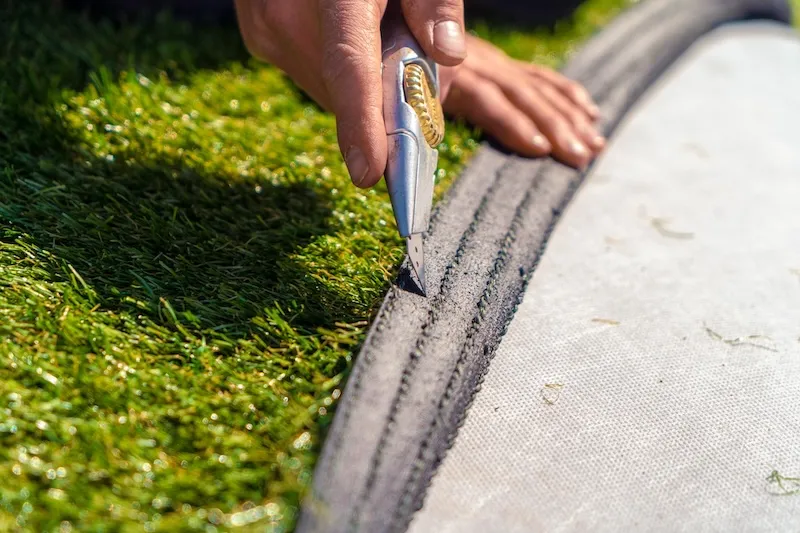
Many synthetic turf rolls feature an un-tufted, bare border along the outer edge known as the selvedge. Leaving this extra strip of bare backing intact prevents adjacent panels from laying flush, creating a visible seam line. Flip the turf over, inspect both outer edges, and use a sharp utility knife to trim off the un-tufted selvedge right before applying seam tape and adhesive.
How to Trim Around Edges, Curves, and Obstacles
After your panels are cut to size, the final appearance depends on how precisely you handle edges, curves, and seams. Rushing this stage can undo careful earlier work, so treat each trim as a finishing detail.
Use a Sharp Hook Knife for Curves
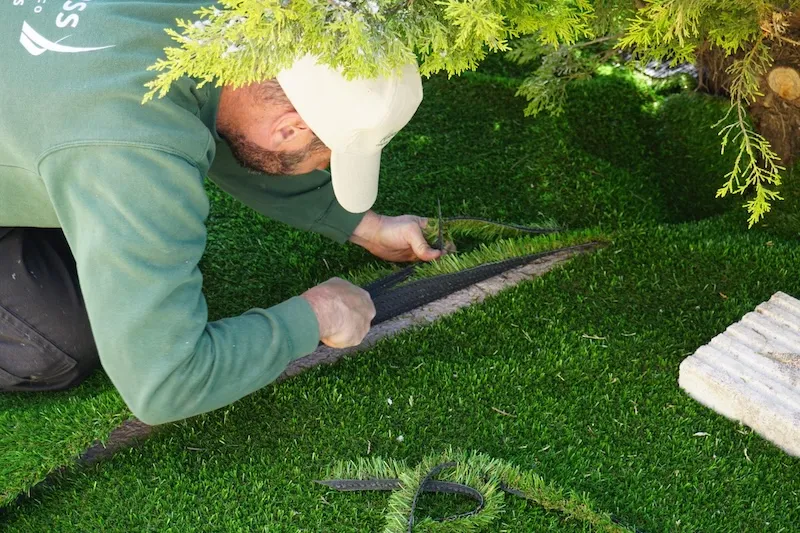
A standard utility knife handles straight cuts, but a hook knife gives better control on curves around trees, garden beds, or fence posts. Cut from the bottom up—roll the backing back and cut the blades from below to avoid slicing the fibers you want to keep. Work slowly, take one small cut at a time, and check your progress frequently so any errors stay minor and undetectable. A sharp blade is non-negotiable; a dull edge tears the backing and leaves a ragged line that is hard to disguise.
Make the Final Edge Trim After Positioning
Once the turf is positioned in its intended location, make the final perimeter trim based on the actual edge or border. In some installations, the turf may be temporarily secured before final trimming to prevent movement. Use a fresh blade and work gradually, removing small amounts at a time rather than making one aggressive final cut.
Brush the Fibers to Blend Cuts
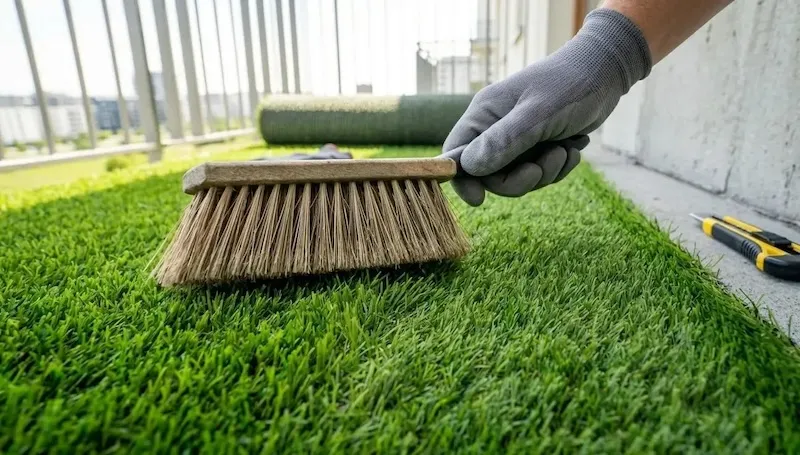
After all trimming is complete, use a stiff-bristled broom or similar artificial turf maintenance tools to lift the fibers around every cut. Brush gently in the direction of the surrounding pile. This stands up any flattened blades and helps the cut line disappear into the rest of the lawn. Wait until any adhesive is fully dry before brushing so you don't disturb the bond.
Pre-Cut Artificial Turf vs. DIY On-Site Cutting
While cutting turf by hand offers complete customization for complex shapes, improper planning frequently leads to misaligned pile directions and material waste.
| Approach | Best For | Pros | Cons |
|---|---|---|---|
| DIY Cutting | Irregular residential yards, complex contours | Full on-site flexibility, lower material purchase cost | Higher risk of measurement error & scrap waste |
| Pre-Cut / Factory Engineered | Rectangular lawns, commercial & sports fields | Less on-site measuring and cutting, faster installation | Less flexibility for last-minute site changes |
How Factory Pre-Cut & Layout Planning Cuts Waste
To eliminate costly cutting errors on large-scale or multi-roll installations, professional manufacturers provide pre-production engineering support:
-
CAD & Layout Optimization: By reviewing site dimensions or CAD drawings prior to manufacturing, engineering teams map out the exact roll lengths, total roll counts, and seaming tape quantities required.
-
Unified Pile Direction: Factory pre-planning ensures all roll orientations flow in the exact same pile direction, preventing mismatched color shading along seam lines.
-
Custom Factory Pre-Cutting: Pre-cutting custom roll lengths during production reduces on-site cutting labor and total material waste.
5 Common Mistakes and How to Avoid Them
Even with careful planning, cutting artificial turf can go wrong quickly when you skip fundamental checks. The backing and pile each require specific handling, and the wrong technique wastes material or creates frayed edges that are hard to repair. Use the table below to spot and fix the most frequent errors.
| Mistake | Why It Happens | How to Fix It |
|---|---|---|
| Using the wrong blade or cutter | A dull hook knife or worn utility blade tears the backing instead of slicing it | Use a sharp, dedicated turf blade and replace it the moment it starts to drag |
| Cutting without measuring twice | Rushing the layout leads to short panels or misaligned seams | Mark cut lines on a flat surface and verify every measurement before cutting |
| Ignoring the pile direction | Adjoining panels cut with opposite pile look mismatched | Lay all panels with the fibers running the same way before cutting and seaming |
| Cutting from the grass side | The blade catches and damages visible fibers | Flip the turf and cut from the backing side, following stitch lines |
| Making the final trim too early | The turf may shift or the final edge may not match the actual installation boundary | Leave extra material during the rough cut, position the turf, then trim gradually to the final edge |
FAQs About Cutting Artificial Turf
What tools do I need to cut artificial turf?
The basic tools are a tape measure, marker or chalk, straightedge, and a sharp utility or hook knife. Cut-resistant gloves and spare blades are also recommended.
What is the best way to cut artificial turf?
Measure and mark the turf, turn it backing-side up, then cut along the tuft rows with a sharp blade. For large pieces, make a rough cut first and complete the final trim after positioning the turf.
Can I cut artificial turf by hand?
Yes. A sharp utility knife works well for most DIY and small installations. Use a hook knife for curves and detailed cuts, and replace the blade when it starts to drag or tear the backing.
Should I cut artificial turf before or after installation?
For large pieces, make a rough cut before positioning the turf and leave some extra material around the edges. Once the turf is in place, make the final trim to match the actual perimeter.
Conclusion
Cutting artificial turf cleanly comes down to three habits: sharp tools, careful measurement, and patient trimming from the backing side. Whether you opt for pre-cut panels or cut by hand, plan your layout before the first cut, keep spare blades ready, and finish by brushing the pile so every seam and edge disappears into the lawn. Get these fundamentals right and your installation will look professional and last for years.