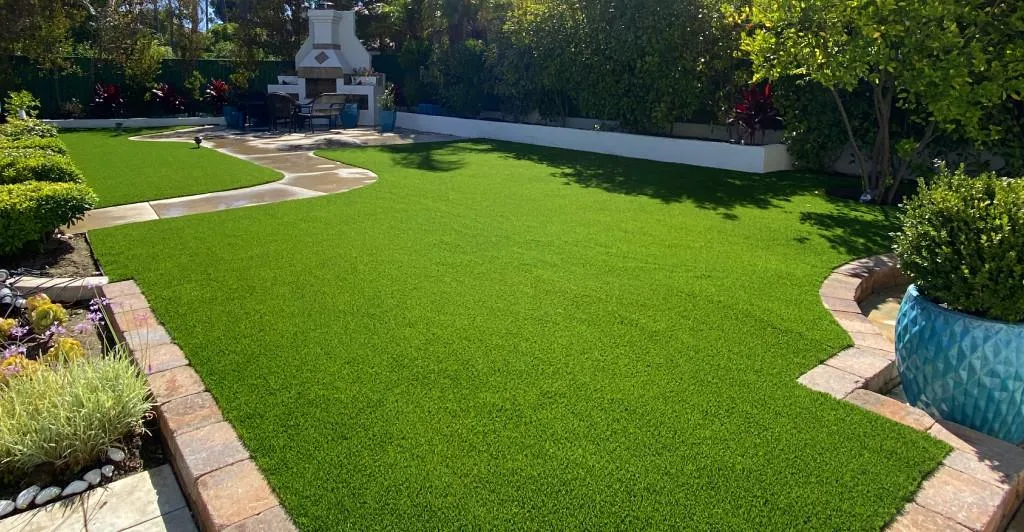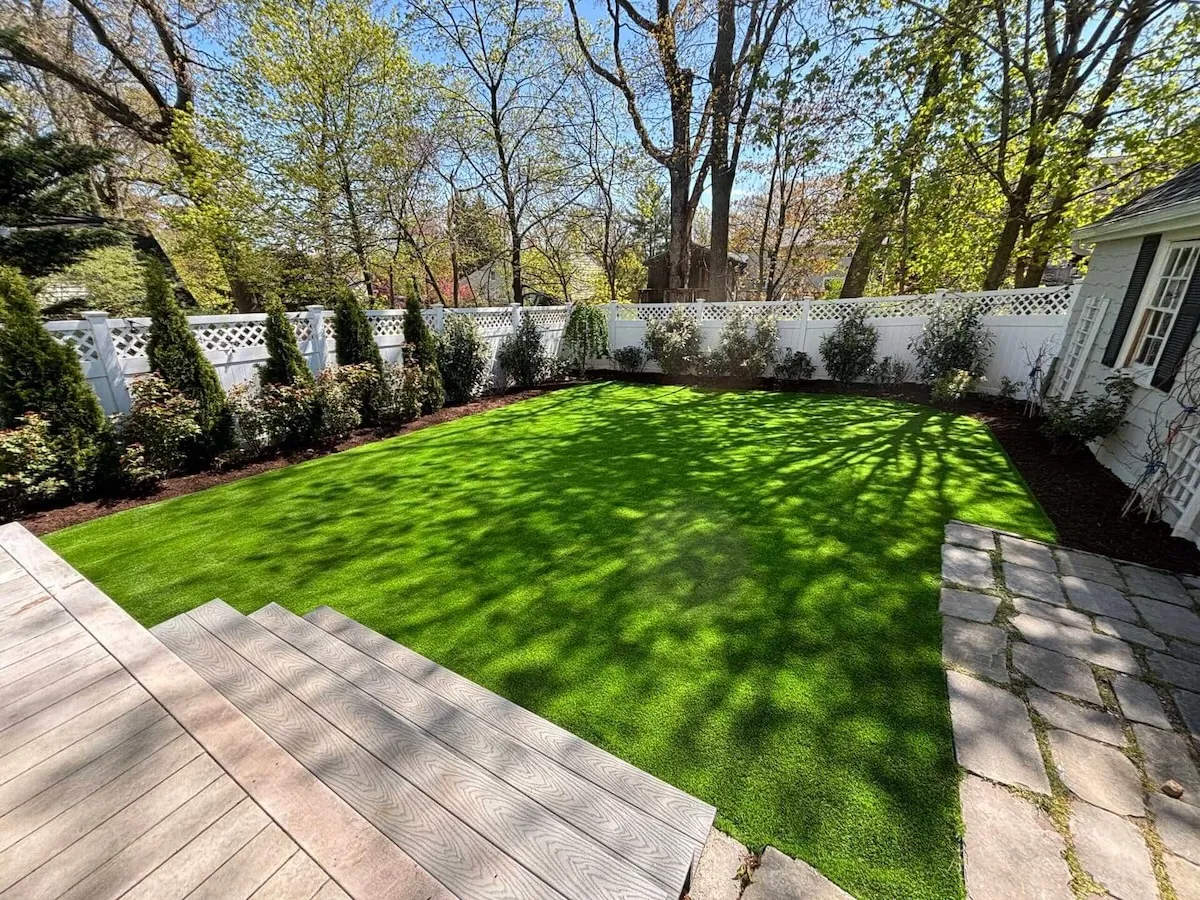
Installing artificial grass on dirt requires more than simply rolling out turf. Because soil shifts, holds moisture, and allows weeds to grow, a properly compacted base is essential for drainage, stability, and a long-lasting lawn.
Installing Artificial Turf on Soil in 5 Steps
- Excavate the top three to four inches of sod and soil, removing weeds, roots, and large debris.
- Lay a permeable weed barrier over the graded soil before adding the aggregate base.
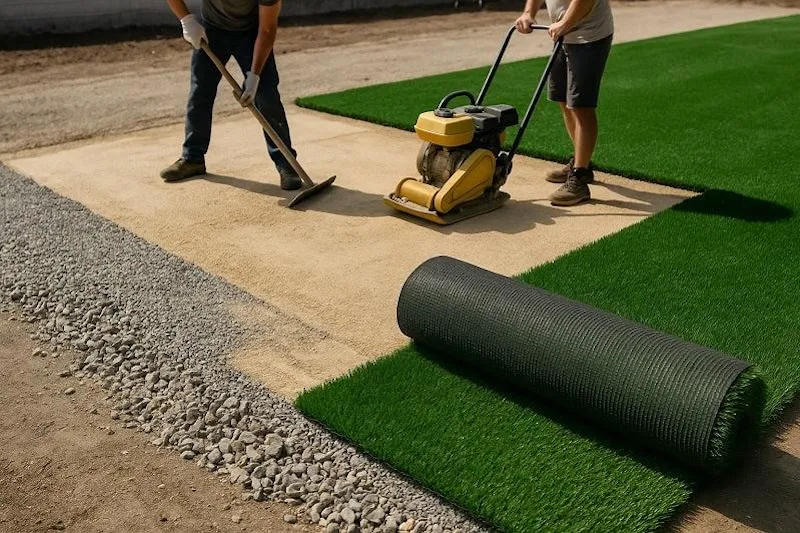
- Add and compact a sub-base of crushed stone or decomposed granite, working in thin layers with a plate compactor to support the turf and aid drainage.
- Level the surface with a thin layer of sharp sand or stone dust, then check for low spots.
- Roll out, cut, seam, and secure the turf, then brush the fibers upright and apply infill.
Do not lay artificial grass directly on dirt. Direct contact prevents proper drainage and produces a lumpy, uneven surface that fails quickly.
Pre-Installation Planning
Before starting excavation, spend a few minutes planning your artificial grass installation. Proper preparation helps reduce waste, avoid visible seams, and prevent drainage problems later.
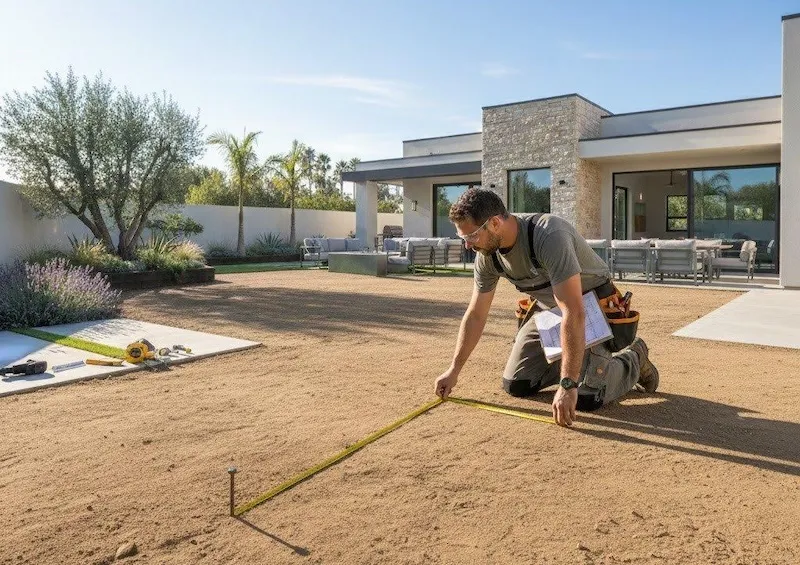
Measure the Area and Estimate Materials
Measure the length and width of your yard to calculate the required turf area. Add around 5–10% extra material for trimming, curves, and installation adjustments. Planning the layout in advance also helps minimize unnecessary seams.
Evaluate Drainage and Ground Slope
Inspect how water moves through the area after rain. The finished turf surface should have a slight slope away from buildings, patios, or other structures to prevent standing water. Fixing drainage issues before installation is much easier than after the turf is installed.
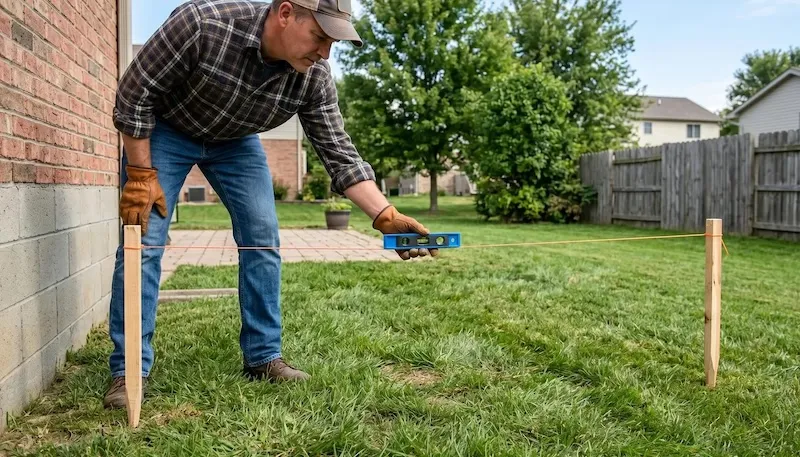
Plan Turf Layout and Seam Locations
Synthetic grass has a visible pile direction, so all turf pieces should be installed with the blades facing the same way. Before cutting, decide where seams will be placed and avoid positioning them in high-traffic or highly visible areas for a more natural-looking finish.
Tools and Materials Needed for Artificial Turf Installation
Gathering the right equipment and supplies before you start keeps the project moving and protects the finished result. The materials you choose directly affect drainage, stability, and longevity—especially over dirt. The list below groups everything into three practical categories.
Essential Base Materials
The main materials include crushed stone or decomposed granite for structural support, landscape fabric for soil separation, and sharp sand or stone dust for final surface preparation.
Base Material Estimating Formulas:
- Sub-base Aggregate: For a standard 3-inch depth, order 1 cubic yard of aggregate per 100 sq. ft. (or ~1.35 tons of aggregate per 100 sq. ft. due to compaction loss).
- Sharp Sand / Stone Dust: Order 1 cubic yard per 500 sq. ft. for a thin 0.5-inch leveling layer. Never use round play sand; rounded grains shift underfoot and retain moisture.
- Perimeter Fasteners: Plan for 6-inch galvanized landscape nails spaced 6 inches apart along the edges, plus extra staples spaced 12 inches along joining seams.
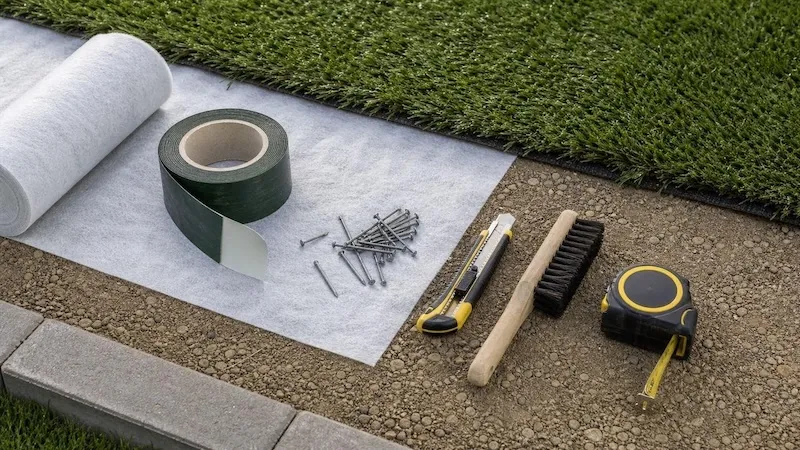
Cutting and Seaming Tools
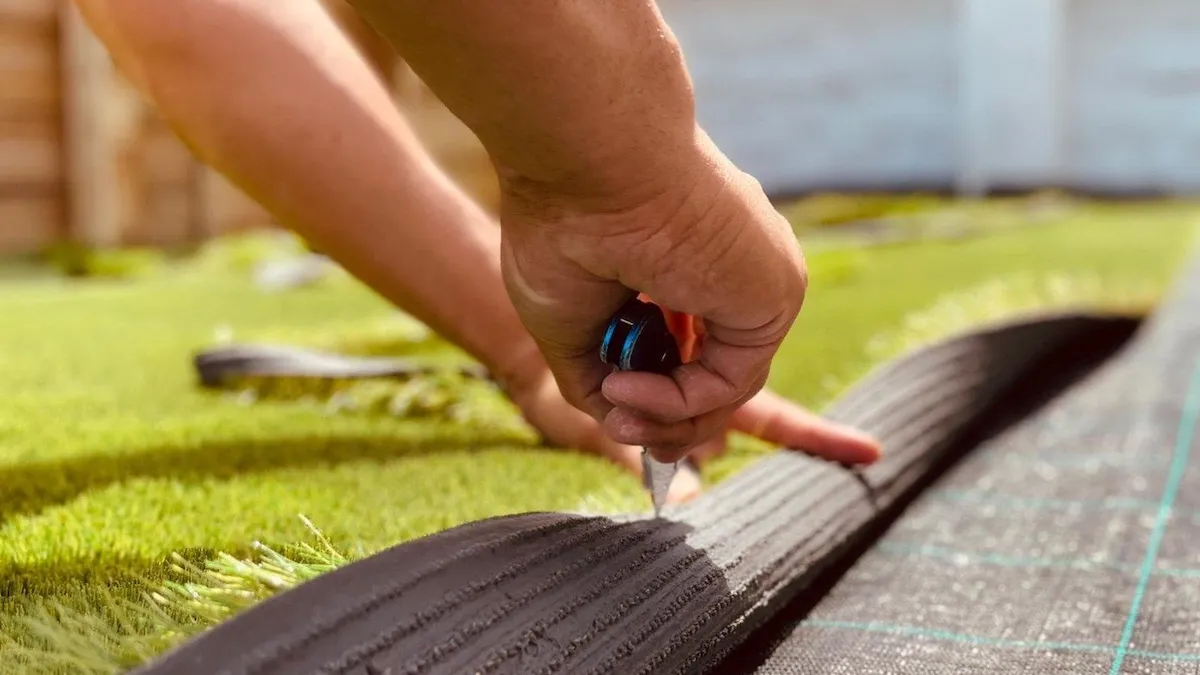
Once the base is ready and the turf is rolled out, you need tools to cut the synthetic grass to fit and to join multiple sections. A sharp utility knife is the standard cutting tool; used with a straightedge, it gives clean, precise edges along the backing. Joining tape and adhesive are the essential seaming supplies—the adhesive bonds the tape to the underside of the grass, and the tape holds two pieces together so they cannot pull apart. A stiff broom, rake, shovel, wheelbarrow, and landscape staples are also commonly required for spreading materials, finishing the surface, and securing the turf edges.
Safety and comfort gear
Installing artificial grass involves kneeling, lifting, cutting, and handling dry materials. Gloves, knee pads, and a dust mask improve comfort and safety during the project, especially for larger installations.
How to Prepare Dirt Ground for Artificial Grass
The success of any installation on dirt hinges on the ground beneath the turf. A well-built base delivers drainage, stability, and a long service life, while a rushed one shows up as puddles and lumps within a season. Work through these stages in order.
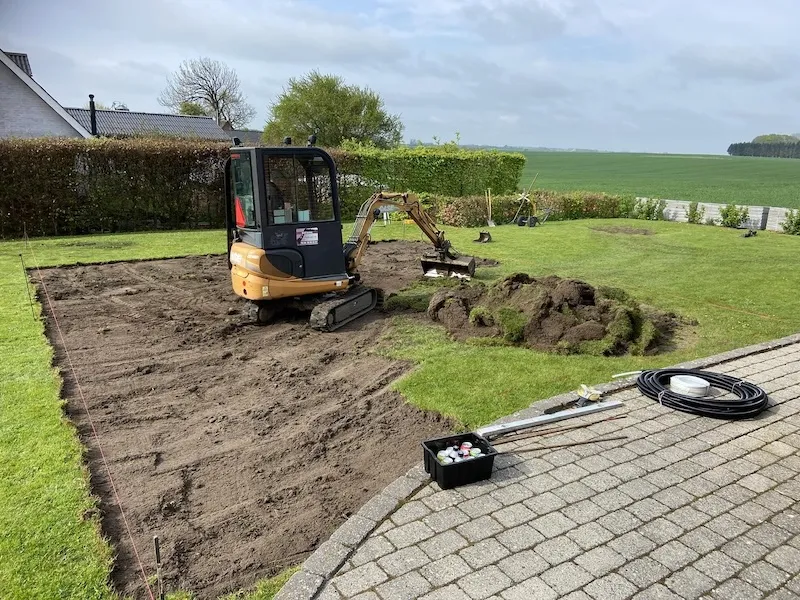
Subgrade Soil Excavation & Grading
Start by removing the top three to four inches of sod and organic soil. As you dig, clear away all weeds, roots, and large debris—any organic matter left behind will decay, create air pockets, and cause uneven settling later. Excavation is also your first chance to establish drainage grade: use a rake or shovel to shape a gentle, consistent slope directing water away from foundations, patios, and neighboring structures.
Pro-Tip: Site Evaluation for Clay & Soft Sandy Soils
Before spreading aggregate, evaluate your native soil condition to adjust excavation depth:
- Clay Soils (High Water Retention): Heavy clay holds moisture and soft-spots under pressure. Excavate an additional 1 to 2 inches (5 to 6 inches total), place your geotextile fabric at the very bottom on raw clay to prevent aggregate from mixing into mud, and consider a buried perforated drain pipe for perpetually damp zones.
- Soft Soil or Loose Sand (Ground Movement): Sandy soils shift easily under foot traffic. To prevent deep settling, compact the native subgrade first before adding aggregate layers.
Laying the Geotextile Weed Barrier
Clearing surface weeds removes existing growth, but a dedicated geotextile weed barrier stops future growth from penetrating up through the base. Lay the permeable landscape fabric directly over the freshly graded native soil (beneath the crushed stone sub-base). Overlap all fabric seams by at least 6 inches and secure the edges with landscape staples to prevent shifting while dumping aggregate.
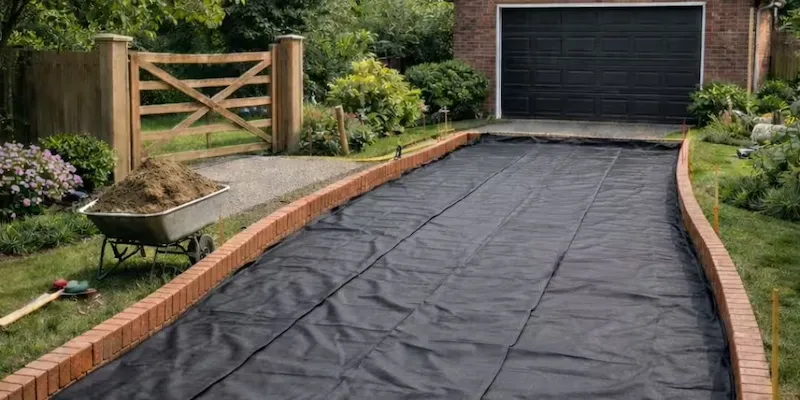
Pet Warning:
For homes with dogs, placing fabric mesh directly under the synthetic grass surface traps urine and organic debris near the top, creating persistent odor issues. Always place the weed barrier at the very bottom of the excavation (on native soil). This allows urine to flush freely down through the crushed stone base into the earth below.
Installing Perimeter Edging & Setting Slope
Before compacting your final base, you must secure the boundary and define the drainage grade:
- Drainage Slope Rate: Maintain a precise 1% to 2% slope (a 1- to 2-inch drop for every 10 feet of length) angled away from home foundations, retaining walls, or low-lying fence lines. This aligns with standard ASLA residential drainage guides for outdoor living spaces.
- Border Retention (Edging): Without a rigid edge, compacted crushed stone will gradually erode outward into adjacent dirt beds, causing perimeter slumping. Install plastic bender board, concrete edging, or pressure-treated timber around the entire perimeter before spreading your aggregate. The top of your edging should sit 0.5 inches below paved surfaces so the turf pile finishes flush with surrounding hardscapes.
Spreading & Compacting Crushed Sub-Base
A sturdy crushed aggregate sub-base provides structural support while maintaining an open matrix for water percolation. Spread a granular aggregate (such as Class 2 road base or decomposed granite) evenly over the geotextile fabric to a depth of 3 to 4 inches.
- Compaction Technique: Never compact a 4-inch layer all at once. Spread and compact the aggregate in thin 2-inch layers (lifts). Lightly spray a fine mist of water over each lift, then run a heavy plate compactor over the area 3 to 4 times in overlapping passes.
- Quality Check: A properly compacted base should feel rock-hard underfoot. If a heavy boot heel leaves a visible indentation, apply moisture and run the plate compactor again.
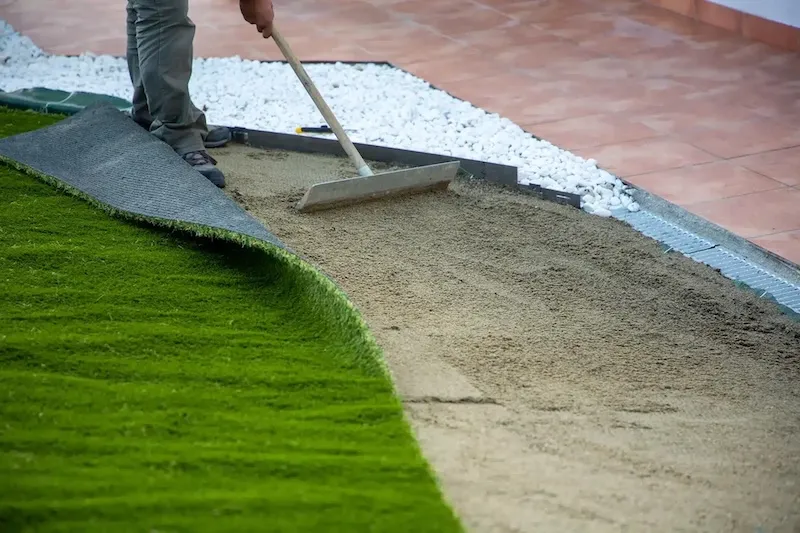
Leveling with sharp sand or stone dust
After the sub-base is compacted, apply a final leveling layer of sharp sand or stone dust to create a smooth surface for the turf. Spread it to a depth of about half an inch and screed it flat with a straight board. Check for low spots, fill them, and re-screed until the surface reads level. This top layer also helps the turf fibers settle and lock in place once installed. Before unrolling the grass, let it relax in the sun—blades facing down—for at least an hour or two so it lies flat without memory creases.
Step-by-Step Artificial Turf Installation Process
With the dirt base compacted and leveled, the project moves from foundation to finish. Each of these steps builds on the preparation work, and a little patience here is what produces a seamless, natural-looking surface.
Roll Out and Cut Artificial Turf to Fit Your Area
Unroll the turf across the prepared base and let it rest briefly so creases and wrinkles settle out. Using a sharp utility knife, trim the turf to the exact shape of your area, cutting along the backing rather than through the blades. It is smart to cut slightly oversize first, then make small final trims for a snug fit around edges, curves, and obstacles. Keep blade direction consistent across pieces so the finished lawn looks uniform under sunlight.
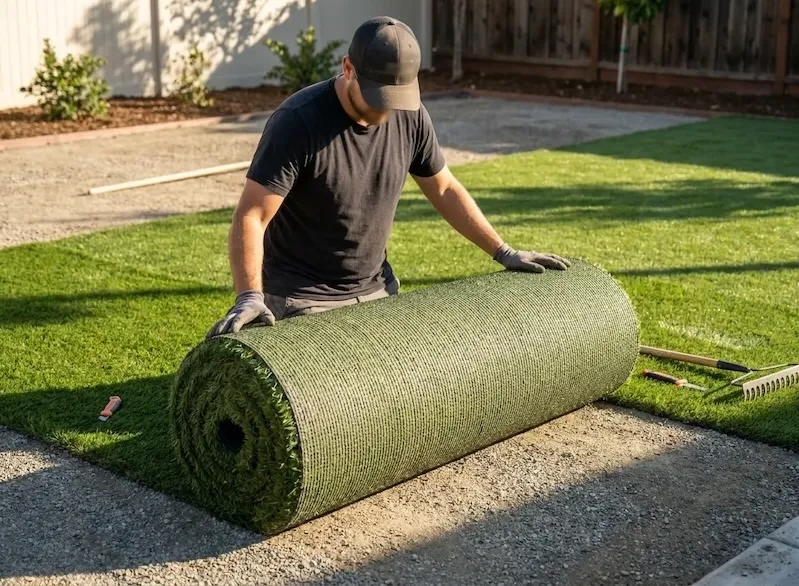
Join Artificial Grass Seams with Tape and Adhesive
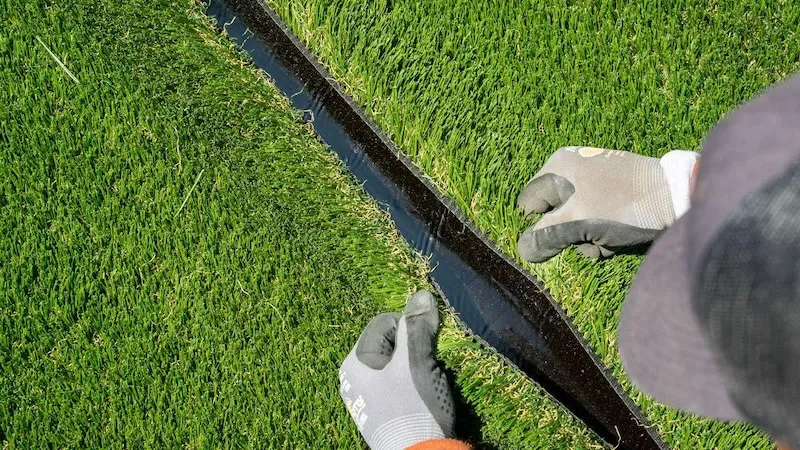
When your space needs more than one strip of turf, the seams have to disappear into the surface. Center the joining tape under the gap between two pieces, apply adhesive along the tape, and press the edges of both strips firmly down. Align the pile direction and keep the rows of stitching parallel so the joint reads as a continuous lawn. A strong, level seam is especially important over a dirt base, where any lift or gap shows quickly.
- Seam Gap Precision: Leave a 1/16-inch to 1/8-inch (2-3 mm) gap between adjacent turf backing strips when joining. Do not overlap backing edges, nor leave a gap wider than 1/8 inch—both create obvious visible seams once the grass blades are brushed upright.
- Thermal Expansion & Stretching: Pull the turf taut using a carpet stretcher or turf kicker before securing seams to prevent thermal buckling during hot summer afternoons.
Professional Seam Installation Tips:
Glue Thickness & Weather Factors. Even high-quality artificial turf will show visible seams or open joints if installation timing and environmental conditions are overlooked. To ensure invisible, long-lasting seams over a dirt base, follow these manufacturer-tested criteria:
- Adhesive Thickness & Coverage: Apply adhesive evenly across the seam tape using a notched trowel. Applying too much glue creates hard, raised ridges and blocks backing drainage; applying too little leads to seam separation under thermal expansion.
- Hot & Sunny Climates (Extreme Heat): Avoid gluing during peak afternoon sun. Direct sunlight and hot surfaces flash-dry the adhesive before you can position the turf, preventing proper chemical bonding. Lay and glue seams during cooler morning hours.
- Cold & Freezing Climates: Low temperatures significantly slow down glue curing times. Allow at least 24 to 48 hours of uninterrupted cure time before brushing infill or allowing traffic on the lawn.
- Precision Edge Trimming: Remove 1–2 tuft rows from factory edges before seaming. This helps eliminate tension irregularities and improves adhesive bonding.
Secure Turf Edges with Landscape Nails or Staples
Once the turf is positioned and seamed, fasten the perimeter. Drive landscape staples or nails along the outer edge, spacing them close enough to hold the turf flat against the base. Push each fastener flush with the surface so it does not create a visible bump. Anchoring the edges prevents the turf from shifting underfoot or lifting after heavy rain.
Brush Turf Fibers and Apply Infill
Finish by brushing the fibers upright with a stiff broom, which opens the pile and prepares it to hold infill. Spread infill evenly across the surface and work it down into the base with the broom or a drop spreader, then brush again. Infill weighs the turf down, supports the blades so they stand tall, and helps the lawn feel and behave more like natural grass. This final round of sweeping and infill is what gives a professional installation its finished appearance.
Common Artificial Turf Installation Mistakes
Even a careful installer can run into trouble. Knowing how to spot and correct these issues saves rework and protects the finished lawn.
| Mistake | Why It Happens | Fix |
|---|---|---|
| Inadequate base compaction | Skipping or rushing compaction | Compact in thin lifts with a plate compactor and lightly mist the aggregate first |
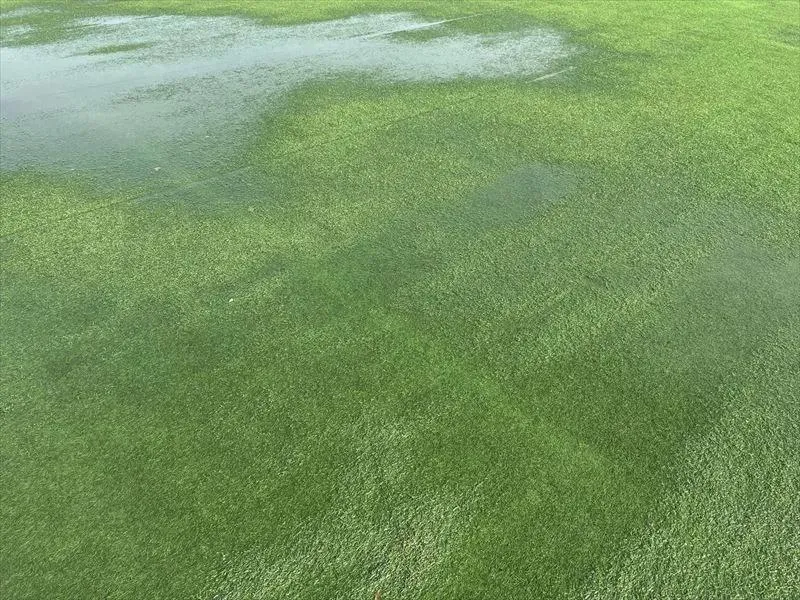
| Poor drainage and puddling | Flat grade or too little gravel | Slope the base away from structures and use enough drainage gravel |
| Visible seams or wrinkles | Cutting cold, stiff turf too soon | Let turf warm in the sun, then stretch it during seaming |
Conclusion
A great artificial lawn over dirt is built from the ground up: excavate to depth, block weeds, compact a free-draining sub-base, level carefully, then lay, seam, anchor, and infill the turf with patience. Get the base right and the surface above it stays flat, drains cleanly, and looks natural for years.
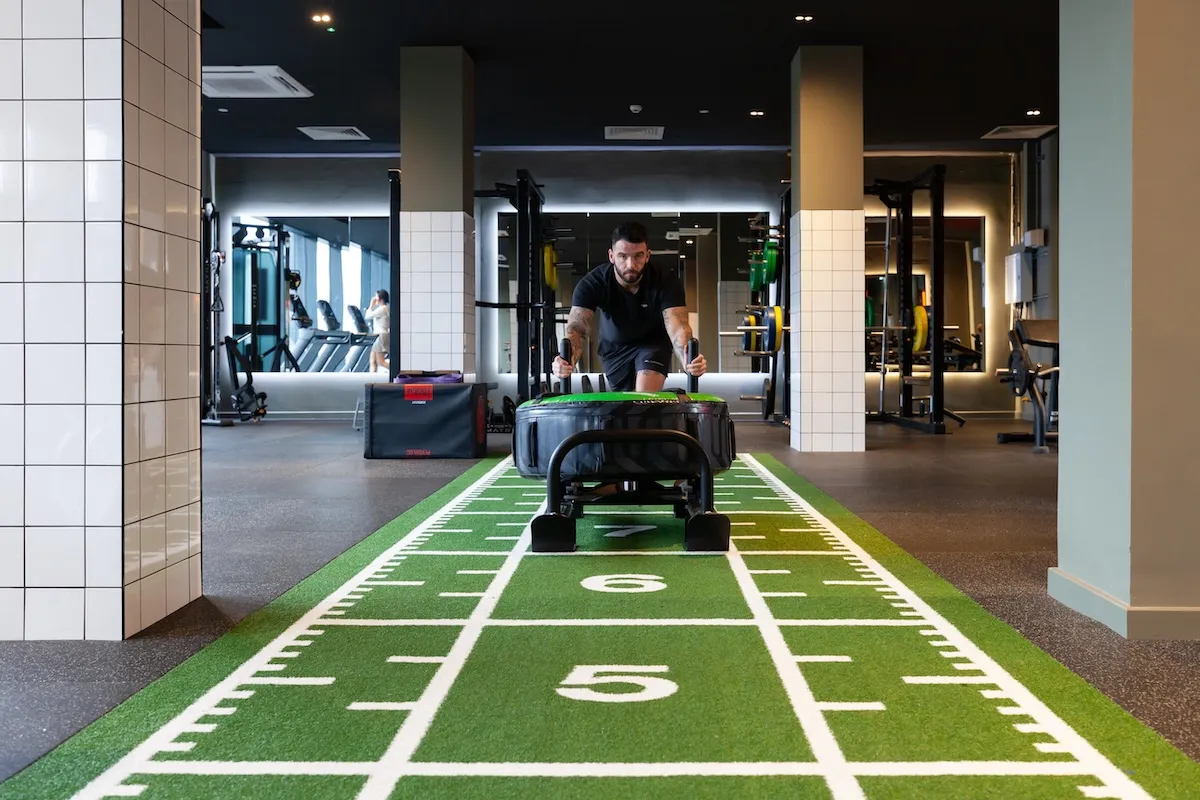
If you are sourcing turf for a larger or higher-performance project, choosing a product matched to the use case matters as much as the installation. Explore GraceGrass artificial landscaping grass for outdoor lawns, or view our specialized gym and sled-track turf for indoor spaces. For custom roll sizes, aggregate volume estimates, or technical advice, connect with our team.
FAQs about Installing Artificial Grass on Dirt
1. Can I install artificial grass directly on dirt without a base?
No. Direct contact with dirt prevents proper drainage and leads to a lumpy, shifting surface as the soil expands and settles. Installing a compacted crushed aggregate base is essential to create a smooth, stable foundation that lets water drain freely.
2. Do I need a weed barrier under artificial grass on dirt?
A weed barrier is recommended for most soil installations, especially in areas with persistent weed problems. Placing a geotextile landscape fabric directly over the native soil (below the aggregate base) stops stubborn weeds from growing up while preventing your crushed gravel from sinking into the dirt over time.
3. How do I ensure proper drainage when installing on dirt?
Maintain a 1% to 2% slope away from structures and use a permeable crushed aggregate base. This combination allows water to pass through the turf backing and flow harmlessly off the lawn rather than pooling on top.
4. What is the best base material for artificial grass on soil?
Crushed aggregate (such as Class 2 road base) or decomposed granite. These materials have sharp, interlocking edges that lock tightly under compaction to create a flat, long-lasting surface that resists rutting and drains water efficiently.