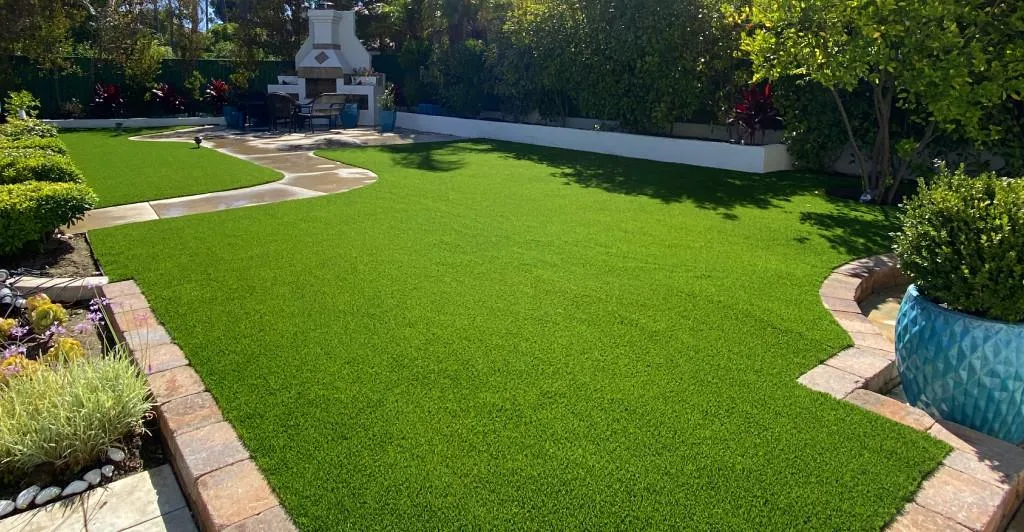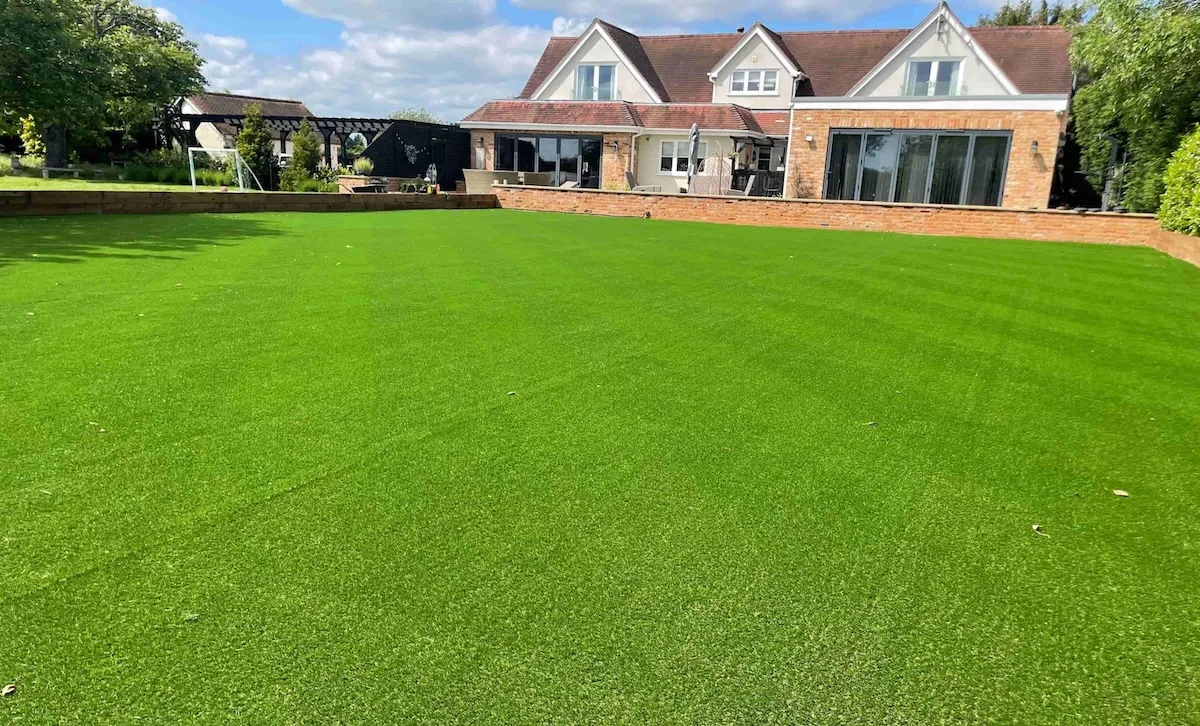
Installing artificial turf does not end when the grass is rolled out and secured. The final step—spreading infill correctly—determines whether your artificial lawn stays upright, stable, and natural-looking for years.
Quick Answer
To spread infill on artificial turf, first brush the fibers upright, then apply infill evenly using a drop or broadcast spreader. Spread the material in several thin layers, brush after each application against the grain, and finish by checking that the turf blades remain upright.
What Is Infill for Turf?
Infill is the granular material that installers spread between the blades of artificial grass once the turf is rolled out and secured. It fills the space between the fibers, mimicking the texture and weight of soil beneath natural grass. Without it, the blades flatten quickly, the mat shifts, and the surface loses both stability and cushioning. In short, turf infill helps synthetic grass maintain a more natural appearance, better stability, and improved underfoot comfort.
Types of Infill: Silica Sand, Rubber, and More
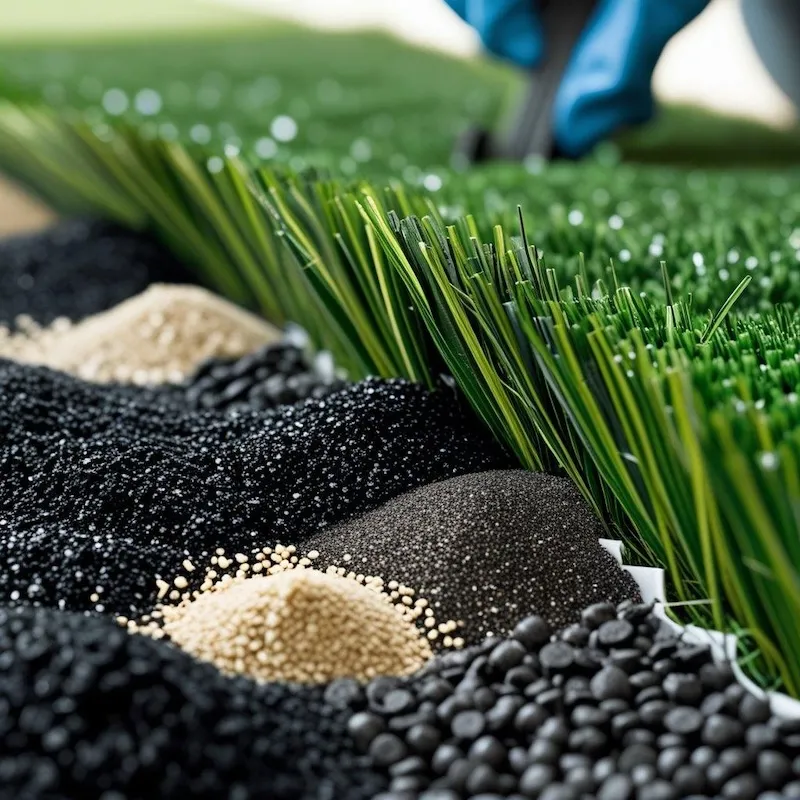
Traditional synthetic turf infills include silica sand, crumb rubber, EPDM, and TPE (thermoplastic elastomer). Alternative and organic options have also become common, such as cork, coconut fibers, and walnut shells. Each material strikes a different balance of weight, softness, and drainage behavior:
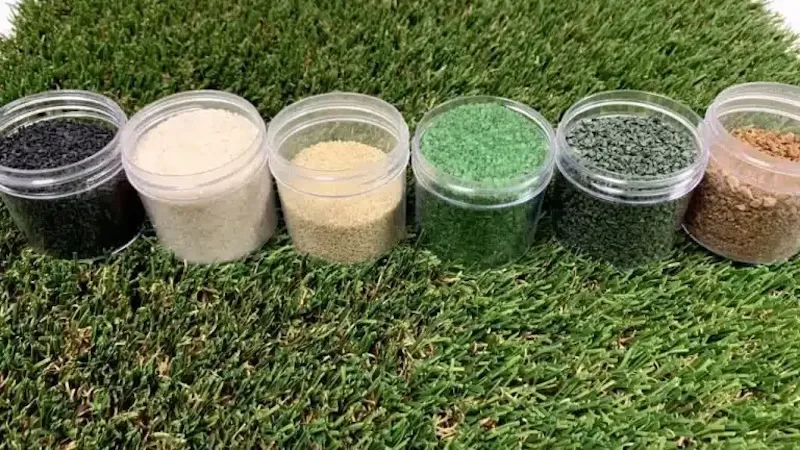
- Silica sand is dense and affordable, making it the standard choice for weighing down the turf and keeping it stable.
- Rubber granules and other artificial turf pellets add bounce and shock absorption, which is why you'll often find them on sports surfaces and play areas. When selecting rubber-based materials, environmental considerations should also be taken into account.
- Cork, coconut, and walnut-based infills appeal to homeowners looking for natural materials with cooling or cushioning properties.
The right choice depends on how the surface will be used—a pet run, a playground, a putting green, or a decorative lawn all have different priorities.
| Infill Type | Best For | Main Benefits | Potential Drawbacks |
|---|---|---|---|
| Silica Sand | Residential lawns | Affordable, stabilizes turf, keeps fibers upright | May produce dust if low-quality material is used |
| Rubber Infill | Sports fields, playgrounds | Shock absorption, cushioning | Can retain heat |
| EPDM/TPE | Professional sports turf | Durable, consistent performance | Higher cost |
| Cork | Eco-friendly lawns | Natural material, cooler surface | More expensive |
| Zeolite | Pet turf | Odor control | Requires replacement |
5 Critical Benefits of Quality Synthetic Turf Infill
Turf infill performs several important functions. It keeps the fibers upright, preventing matting and preserving a natural appearance. It adds cushioning underfoot, making the surface more comfortable for walking, play, and pets. It acts as ballast, stabilizing the mat and reducing wrinkles and shifting over time. And it supports drainage by creating consistent pathways for water to reach the backing. Hitting the correct depth matters: too little infill leads to flattening and movement, while too much can compress the blades and slow drainage. Always apply at the manufacturer's recommended rate for your specific infill type.
Tools You Need to Spread Artificial Turf Infill
Having the right tools on hand ensures an even distribution and prevents damage to the synthetic grass fibers.
| Tool | Purpose & When to Use |
|---|---|
| Drop Spreader | Ideal for precise, controlled application on small to medium lawns and perimeter edges |
| Broadcast Spreader | Best for covering large, open areas quickly with a wide distribution pattern |
| Power Broom | Motorized broom used to bloom fibers upright and work infill deep into the backing |
| Stiff-Bristle Push Broom | Manual alternative for small sections, touch-ups, or tight corner spaces |
| Gloves & Dust Mask | Essential safety gear to protect against dust inhalation (especially when using silica sand) |
How to Spread Infill on Turf: Step-by-Step
Step 1: Gather Your Tools and Prepare the Turf
Assemble your equipment before opening a single bag of infill. Confirm that all ground preparation, sub-base work, edging, and turf installation are complete.
Timing makes a massive difference in your installation quality:
- Avoid Wet Turf: Never spread infill if the turf is wet from rain or morning dew. Moisture causes infill granules to stick to the grass blades rather than settling smoothly to the backing.
- Avoid Extreme Heat: On extremely hot and sunny days, synthetic turf blades soften significantly, which can mess up your brushing results and cause uneven fiber recovery.
- Ideal Conditions: The turf surface should be completely dry, clean, and installed under mild weather conditions.
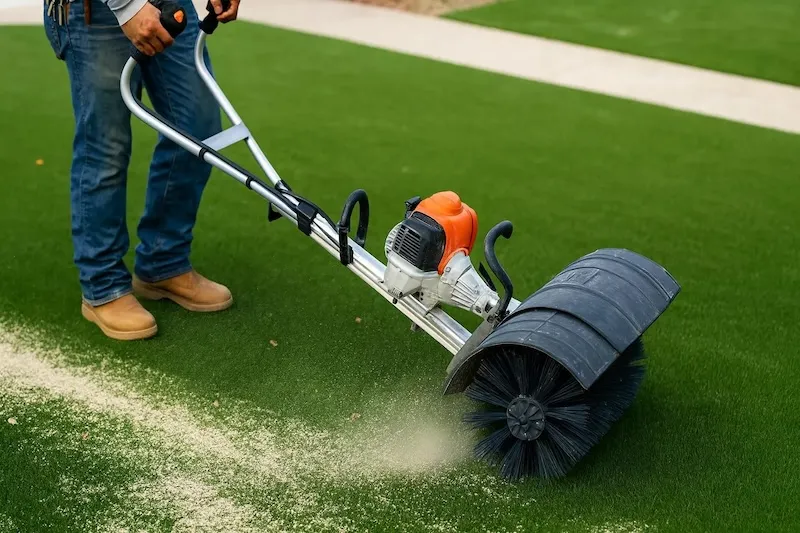
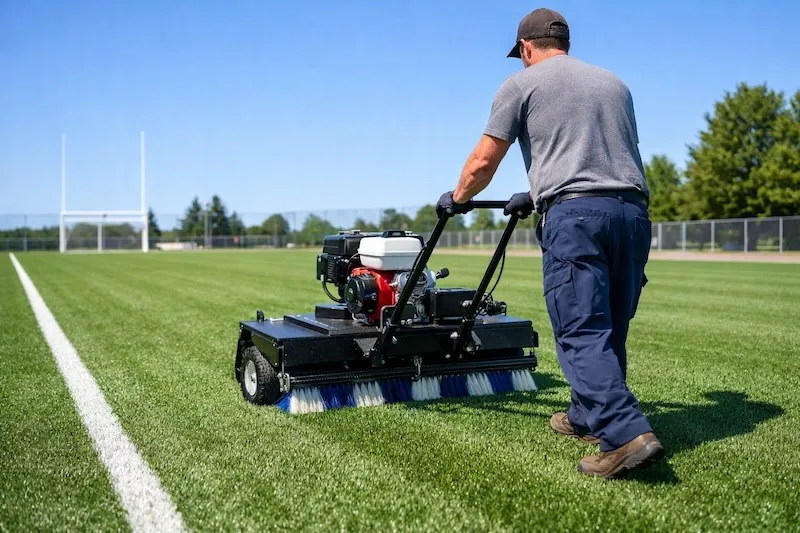
Begin by brushing the synthetic grass vigorously with a power broom or stiff broom to lift the blades into a vertical position, opening up the turf system for the granules.

Step 2: Apply the Infill Evenly Using a Spreader
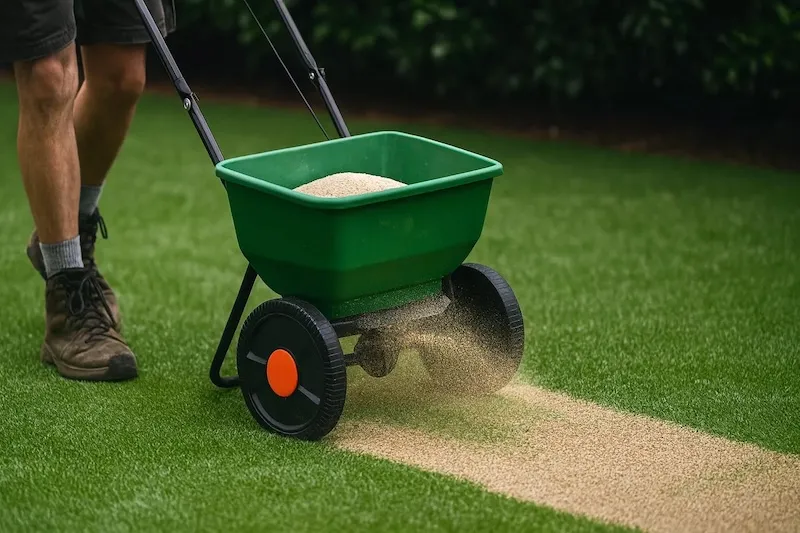
Load your spreader with the appropriate silica sand or artificial turf pellets and walk at a steady, consistent pace, making parallel passes across the entire lawn. Aim for a thin, uniform layer rather than dropping heavy piles in any one spot. A broadcast spreader covers large areas quickly, while a drop spreader gives better control on small or irregularly shaped lawns.
The single most useful habit here is to divide the total recommended amount into two lighter passes. This prevents clumping, keeps depth consistent, and gives you a chance to spot thin areas before they become permanent.
Professional Tip: Do not spread infill on windy days. Lightweight materials can move before they settle into the turf fibers, causing uneven coverage.
Step 3: Brush the Turf to Settle the Infill
Brushing drives granules down to the base structure and restores fiber memory.
Artificial grass fibers naturally lay in one direction. Always brush against the grain (fiber direction) to lift the blades and guide the granules deep down to the backing.
Cross-Pattern Finish: After brushing against the grain, sweep with the grain and finish in a cross-pattern so every individual tuft is reached and supported.
For large landscape projects or football pitches (hundreds or thousands of square meters), consistency is crucial. Experienced installers never dump all the infill at once. Instead, they apply and brush the infill in multiple thin layers. Each layer is brushed deep into the backing before the next layer is spread, ensuring consistent depth and field stability across the entire area.
Step 4: Water the Turf (If Required) and Inspect
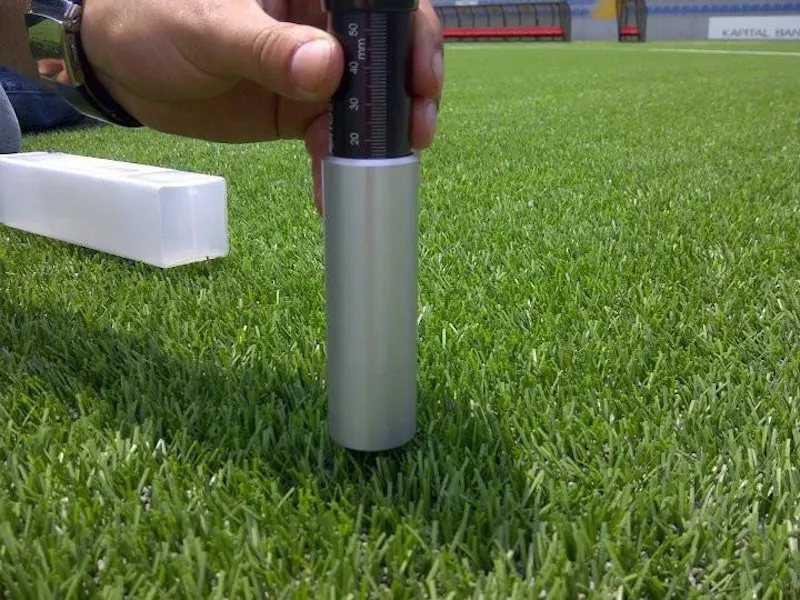
Some specialized infills may benefit from light watering to help reduce dust or improve settling. Standard silica sand usually does not require watering, so always follow the manufacturer's instructions. After any watering, inspect the entire surface for low areas, loose seams, or granules sitting visibly on top of the blades. When the turf looks full and the blades stand evenly, the installation is finished.
How Much Infill for Synthetic Grass Do You Need?
Calculating Infill Volume: Formula and Factors
How much infill your project needs depends on three main variables: the pile height (blade length), the turf density, and the infill material itself, since sand, rubber, and TPE all have different weights and settling behavior. As a general benchmark, many turf manufacturers recommend starting around 0.5 to 1.5 pounds of infill per square foot for residential lawns, with higher rates for sports fields, playgrounds, or other heavy-use surfaces.
There is no single universal formula, but the practical approach is to estimate the volume of the space between the fibers—roughly the surface area multiplied by the recommended infill depth set by the manufacturer for your blade length. Build in a small margin, because infill compacts after spreading and brushing, so you may need slightly more material to reach the final target depth.
Example Calculation for a Standard Lawn
Consider a typical 500-square-foot residential lawn with a 1.5-inch pile height and a recommended infill depth of about 0.5 inches. Convert the depth to feet (0.5 inches ÷ 12 ≈ 0.042 feet), then multiply by the area: 500 sq ft × 0.042 ft ≈ 21 cubic feet, or roughly 0.78 cubic yards.
For example, if using 50-lb bags of silica sand, the total amount may equal roughly 10–15 bags depending on the turf density and recommended infill rate.
| Turf Pile Height | Recommended Infill Amount | Typical Applications |
|---|---|---|
| Short pile (<1.25") | 0.5–1.0 lbs/sq ft | Putting greens, balconies, low-traffic areas |
| Medium pile (1.25–2") | 1.0–2.0 lbs/sq ft | Residential lawns, landscaping |
| Tall pile (2"+) | 2.0–3.0 lbs/sq ft | Heavy-use lawns, playgrounds, pet areas |
Because density varies—sand is considerably heavier than rubber or TPE—the weight per cubic foot changes with the material, so always use the product specifications to convert volume to weight accurately. Overfilling causes blades to sink and look unnatural, while underfilling reduces stability and cushioning. When in doubt, infill a small test area first and measure the result before ordering bulk material.
How Infill Works Inside an Artificial Turf System
Artificial turf is designed as a complete system rather than just a layer of synthetic grass fibers. The three main components—backing, yarn, and infill—work together to create a stable, durable, and natural-looking surface.
The infill is the final component added after installation. These small granules are brushed between the fibers to support the blades, add weight, improve surface stability, and enhance comfort underfoot. Without sufficient infill, even high-quality artificial turf may flatten, move, or lose its natural appearance over time.
The correct infill type and depth help maintain fiber recovery, drainage performance, and long-term durability.
Common Mistakes When Spreading Turf Infill and How to Avoid Them
Mistake 1: Brushing When the Grass is Wet or Too Hot.
Wet turf causes infill granules to stick to upper blades instead of reaching the backing, creating clumping. Brushing under extreme heat can distort softened grass fibers.
Mistake 2: Using Too Little or Too Much Infill
Misjudging quantity is the most frequent error. Too little infill leaves fibers unsupported, so the surface stays flat and shifts underfoot. Too much compresses the blades, cuts cushioning, and slows drainage. Avoid both by calculating the required volume before you start, referring to the manufacturer's rate for your pile height and density, and measuring or weighing the material rather than eyeballing it. A mechanical spreader keeps your application rate consistent and close to target.
Mistake 3: Uneven Application Across the Surface
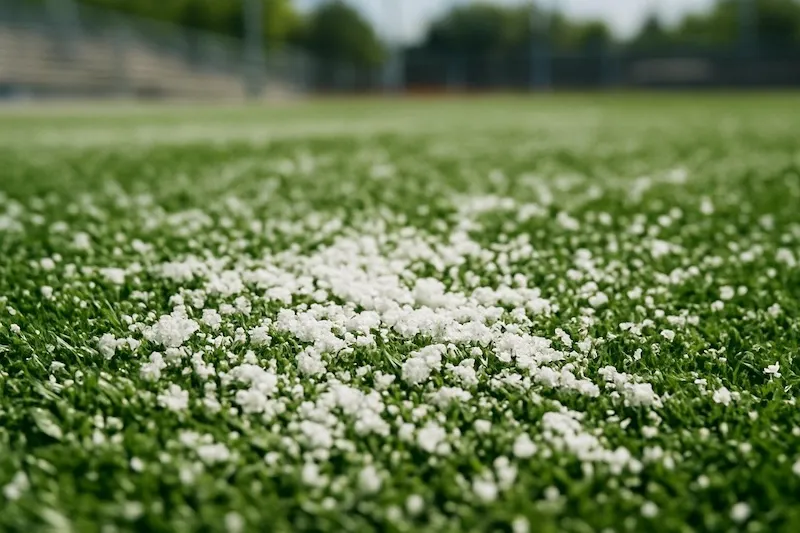
Spotty distribution creates visible patches where blades lean or lie flat, breaking up the uniform appearance of the lawn. This usually happens when infill is dumped in piles and pushed around by hand. Prevent it by using a spreader and walking straight, overlapping rows in a grid pattern—covering the area once in one direction and again perpendicular to it. Inspect for thin spots afterward and top them up before brushing.
Mistake 4: Skipping the Brushing Step
Many DIY installers spread the infill and stop there, assuming the job is done. Skipping the brush is a critical mistake: brushing pushes the granules down between the fibers and lifts the blades back upright. Without it, the infill simply rests on top, doing nothing to stabilize or cushion the surface. Brush after each spreader pass, then give the whole lawn one final thorough brushing so the infill settles evenly and the grass stands tall.
When Infill-Free Turf Makes More Sense
Not every project benefits from a heavily infilled system. For high-performance sports fields where consistent ball roll, reduced migration, and lower maintenance are priorities, infill-free constructions are engineered to deliver stability through dense, supportive fiber design rather than granular ballast. If you're specifying turf for football pitches or multi-sport facilities, it's worth comparing infill systems against non-infill sports grass to see which approach better fits the playing requirements and upkeep budget. For most residential lawns, however, a correctly infilled system remains the standard and most cost-effective choice. If you're weighing options for a commercial or athletic project, the GraceGrass team can help you match turf construction to your use case—reach out with your field dimensions and performance goals to get tailored guidance.
FAQs About Turf Infill
1. What is infill for turf?
Infill is the granular material spread between synthetic grass fibers to keep blades upright, mimic natural soil feel, and add ballast that holds the lawn securely in place.
2. How do I spread infill on turf?
First, power broom the blades upright. Use a mechanical drop or broadcast spreader to apply infill in light, overlapping passes under dry weather. Finally, brush against the grain to drive granules down to the backing. (Wear a dust mask when handling silica sand).
3. How much infill do I need for synthetic grass?
It depends on pile height, density, and material. Most standard residential lawns require 0.5 to 1.5 lbs per square foot. Always check manufacturer specifications for exact volume-to-weight rates.
4. What are artificial turf pellets made of?
Turf pellets (infill granules) are typically made from rounded silica sand, rubber granules (crumb rubber/EPDM/TPE), or organic alternatives like cork, coconut fiber, and walnut shells.
5. Can I use regular masonry or play sand instead of turf infill?
No. Regular sand has sharp, jagged edges that cut into synthetic yarn and backing, and it compacts over time, reducing drainage performance. Always use rounded, dust-free silica sand specifically designed for synthetic turf.
Conclusion
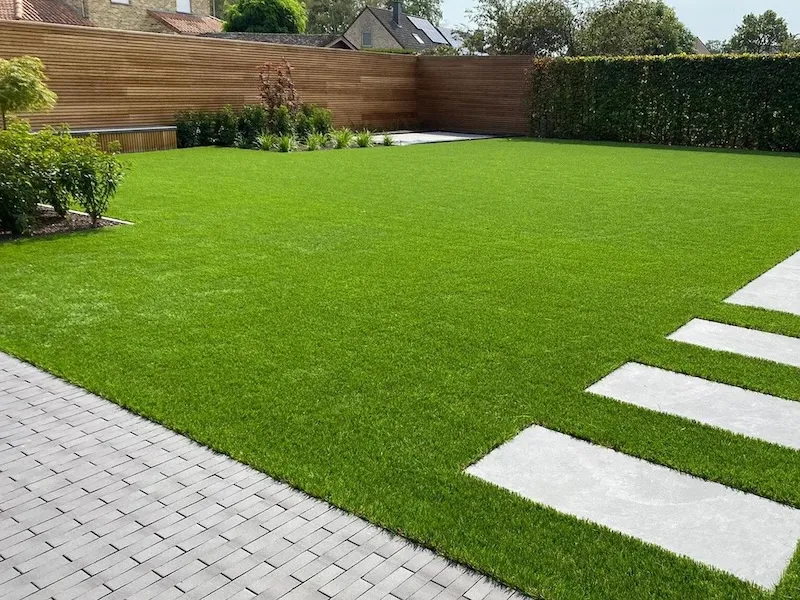
Proper infill installation is what transforms artificial grass from a simple carpet-like surface into a stable, natural-looking lawn. The most important steps are choosing the right infill, applying it evenly in light passes, and brushing it deep into the fibers.
Whether you are installing a backyard lawn, pet turf, or a commercial landscape project, using the correct infill amount will improve durability, drainage, and long-term appearance.